Following are the steps you will need to take in order to update the Digitax Firmware.
First, you need to create a USB key. Please download this zip file SmartMoveVehicle.zip which contains all the files needed. Please extract these files to the ROOT (base directory) of a USB key.
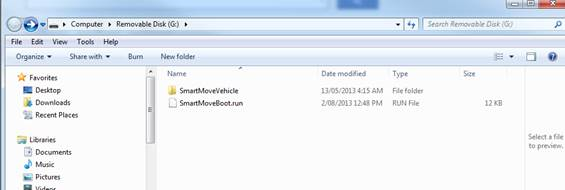
You will now have a folder called SmartMoveVehicle and a file named SmartMoveBoot.run (see below):
This USB key can then be removed from the computer.
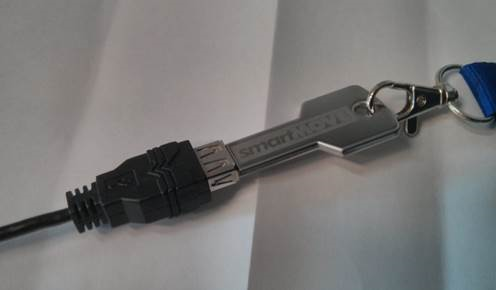
Plug this USB key into the USB socket on one of the looms connected to the faulty SmartMove Digitax screen that requires updating.
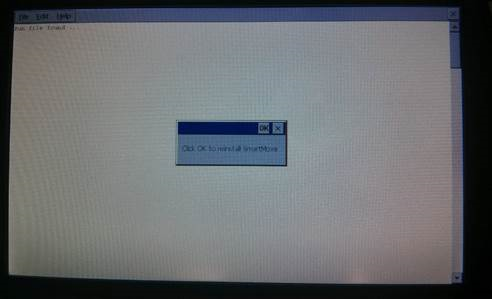
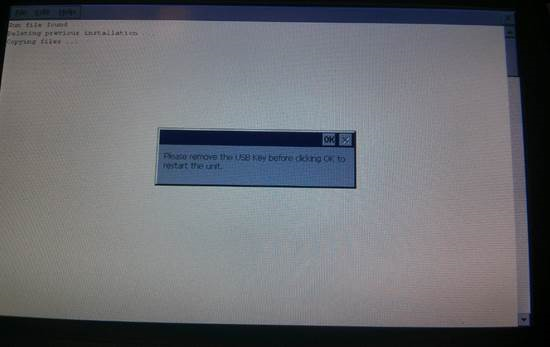
Turn on the unit. As it starts up, you will presented with a dialogue box.
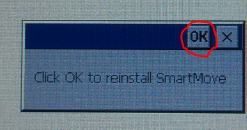
Try to press OK quite quickly, but accurately; there is limited time before the unit will shut down automatically. You might like to use a pen lid, or some other blunt plastic item to get an accurate touch.
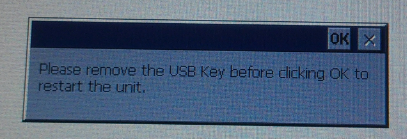
When it has finished copying the necessary files, it will ask you to remove the USB key (simply unplug the USB key from the socket), and press OK. The unit will then shut down.
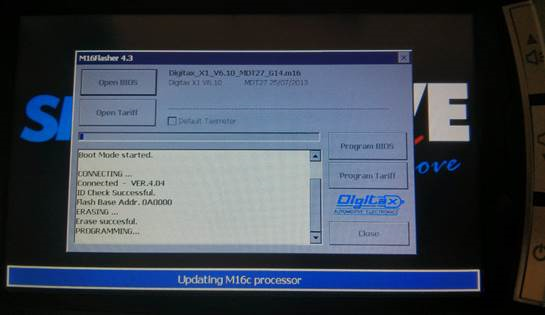
Turn the unit on, the firmware updater will automatically start, and apply the new firmware that was just copied to the unit:
Don’t touch anything. The unit will restart itself and should now be working properly.
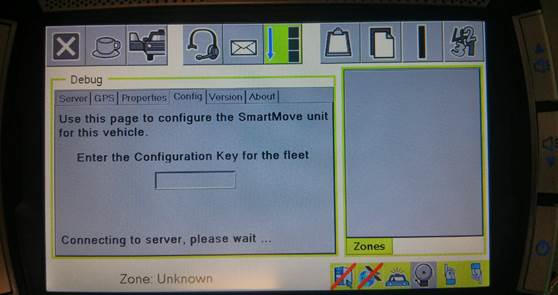
Please contact SmartMove Support if you require additional help.