Overview
The express booker configuration allows various options for express booker to be configured. This includes whether it is a public booking site or only available to registered users or things like which fields to allow users to access.
Express booker can be used by registered users (e.g. clubs, hospitals etc.) so that they can manage their own bookings. For registered users they will be able to add, update or remove bookings and they can also see a history of their previous bookings. If unregistered bookings are allowed by a fleet they will not have this management functionality available to them for security reasons.
Note that this screen needs to be visited and saved at least once for express booker to be used since any default values may not be applicable to your fleet.
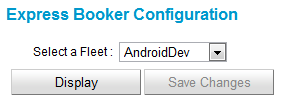
To display the current options and allow for changing these options you will need to select the applicable fleet and press the “Display” button.
Any changes made to the configuration needs to be saved with the “Save Changes” button to make it take effect.
Booking Page Options
The first parameter that will be shown is the current URL that would allow access to the express booking site. This can be used directly or included in a frame as needed by your IT management.
The “Allow Public Bookings” field should only be used if you want unregistered customers to be able to make bookings. In this case you need to add “&public=true” to the URL for public access.
The quick booking screen allows logged in users to make a pre-created booking with just a single click of a button. This feature may be useful for clubs or other locations where the booking does not need too much customisation and they just want the process to be as easy as possible.
Attributes
There is a section that allows you to specify which attributes you want the customer to be able to select. For example you may not want the customer to be able to select any volunteer jobs or school runs.
By default all of the attributes will be single select. You can also opt to allow customer to select multiple attributes but this may lead to customers selecting attributes that no vehicle has all of which would mean that the booking will not be dispatched. For this reason it is advised that this option not be available unless you have very few attributes or call centre staff that are able to quickly detect these anomalies.
Booking Fields
The fields that will be shown to the customer to fill in are specified in the booking form fields section. You can opt to show each field and there is also an option to make particular fields mandatory to fill in. The pickup address and suburb fields should always be mandatory. If you will be showing the fare estimation to the customer you also may want to make the destination address mandatory so that it can be calculated.
Header and Footer HTML
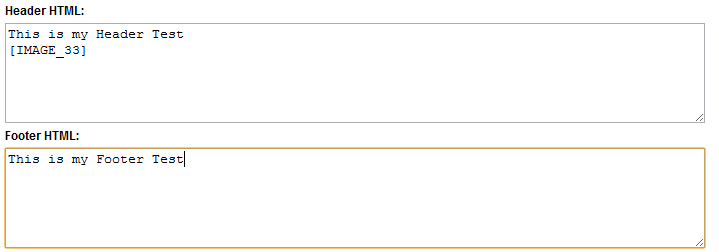
The header and footer HTML sections can be used to customise the page with logos or information that you want at the bottom or top of the page. This may not be necessary if you are inserting the URL into a frame of an existing page. Any HTML can be used and images can be included (see below)
HTML Images
You can upload images that can be used in the header or footer of the page. This is generally going to be the logo or background for the page.


